Creating a system image backup is a crucial step for any Windows user looking to protect their data. Whether you’re upgrading your hardware, troubleshooting issues, or simply want peace of mind, a system image backup allows you to restore your entire system to a previous state. Windows 10 and Windows 11 come with built-in tools that make this process straightforward. In this guide, we’ll walk you through the essential steps to create a system image backup, ensuring you have a reliable copy of your operating system and files. By following these steps, you can safeguard your data and recover from potential system failures with ease.
Accessing Backup and Restore
To begin creating a system image backup, you need to access the Backup and Restore feature in Windows. This feature can be found in the Control Panel. Search for “Control Panel” in the Start menu, then navigate to “System and Security” and select “Backup and Restore (Windows 7).” This option is available even in Windows 10 and Windows 11, allowing you to utilize the same backup tools.
Selecting Backup Location
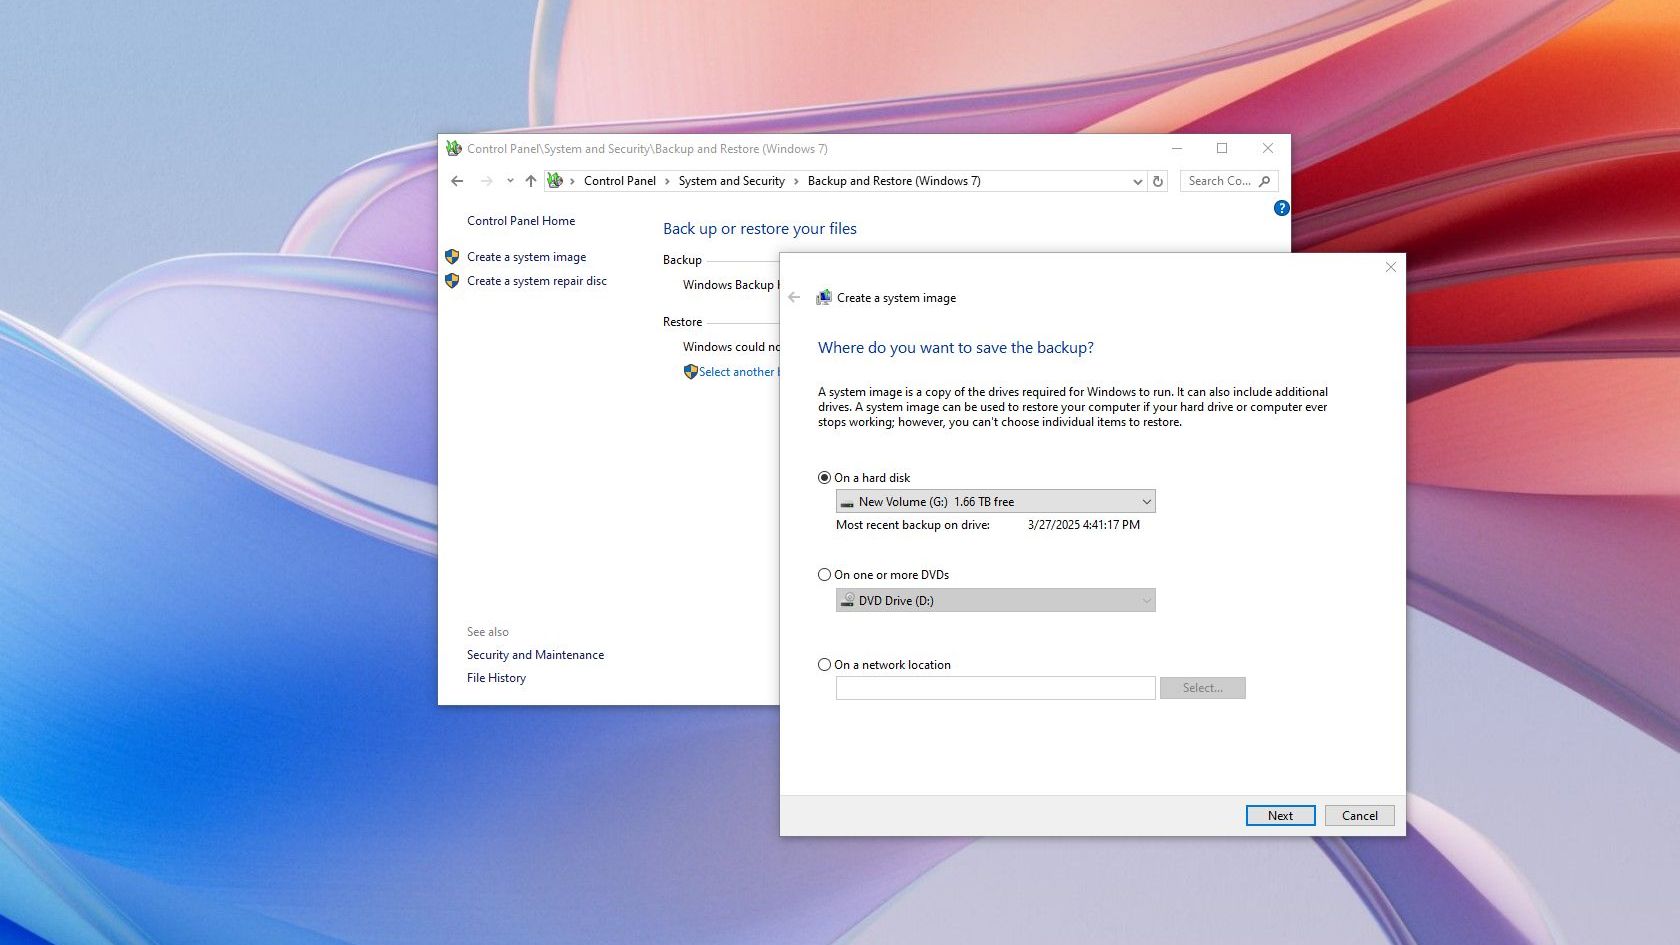
Once you are in the Backup and Restore window, the next step is to choose where you want to save your system image backup. You can select a local hard drive, an external drive, or a network location. It is advisable to use an external drive to ensure that your backup is safe from internal hardware failures.
Choosing What to Backup
After selecting your backup location, you will be prompted to choose what to include in your system image. Typically, you will want to include the operating system drive (usually C:) and any other drives that contain important data. Make sure to review your selections carefully to ensure you are backing up everything you need.
Starting the Backup Process
With your options selected, you can now initiate the backup process. Click on “Create a system image” to start the procedure. The process may take some time depending on the size of your data and the speed of your backup location. It’s essential to remain patient and allow the process to complete without interruption.
Creating a System Repair Disc
After the system image backup is complete, it is highly recommended to create a system repair disc. This disc will allow you to boot your computer and restore your system image in case of a major failure. You can create the disc using a CD, DVD, or USB flash drive, depending on your preference.
Verifying the Backup
Once the backup and the repair disc are created, it’s important to verify that your backup is functional. You can do this by checking the backup location to ensure the image file is present. Additionally, testing the repair disc by booting from it can confirm that your backup process was successful.
Regular Backup Maintenance
Creating a system image backup is not a one-time task. It’s crucial to schedule regular backups to ensure that your data remains safe and up-to-date. You can set up a backup schedule in the same Backup and Restore window, allowing Windows to automatically create backups at specified intervals, thus minimizing the risk of data loss.
| Step | Description | Time Required | Backup Location | Notes |
|---|---|---|---|---|
| Accessing Backup | Open Control Panel and find Backup and Restore. | 2 mins | Local/External | Ensure Control Panel is accessible. |
| Selecting Location | Choose where to save the backup image. | 3 mins | External Drive | External drives are recommended. |
| Choosing Backup | Select drives to include in the backup. | 5 mins | OS Drive | Review selections carefully. |
| Starting Backup | Initiate the system image creation. | Varies | Selected Location | Do not interrupt the process. |
To conclude, creating a system image backup in Windows 10 or 11 is a straightforward process that can save you from potential data loss. By following the outlined steps, you can ensure that your system is backed up and ready for recovery when needed. Regular maintenance of backups will further enhance your data security, allowing you to use your computer with confidence.
FAQs
What is a system image backup?
A system image backup is a complete snapshot of your computer’s operating system, settings, programs, and files at a specific point in time. It allows you to restore your system to that exact state in case of failure or corruption.
How long does it take to create a system image backup?
The time it takes to create a system image backup depends on the amount of data being backed up and the speed of the backup location. It can range from a few minutes to several hours.
Can I restore my system from a system image backup?
Yes, you can restore your system from a system image backup using the system repair disc you created or through the recovery options in Windows.
Is it necessary to create a system repair disc?
Yes, creating a system repair disc is important as it enables you to boot your computer and access recovery options if your system fails, allowing you to restore from the system image backup.